Ship parts in Starfield are essential for customizing and upgrading your spacecraft. These parts are crucial for repairing hull damage, with one part capable of restoring four percent of your ship's hull in 10 seconds.
You can acquire these parts in various ways, such as purchasing them from different vendors, looting storage containers, and even obtaining them from destroyed enemy ships.
These parts have a mass of 10.00 each, limiting how many you can carry. You can also request extra repair parts from friendly faction ships that you save from dogfights.
Reactor
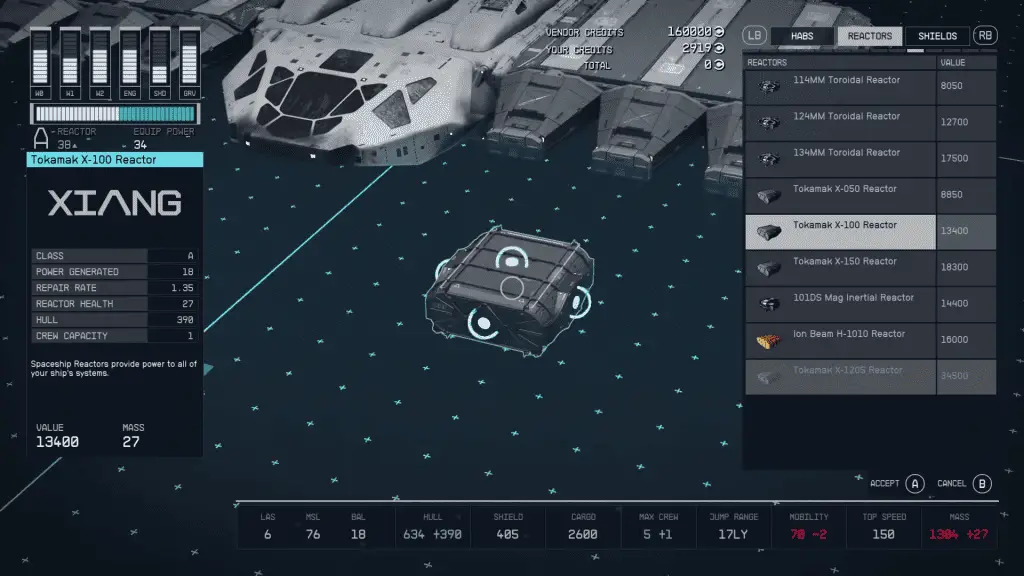
- Class: Sets the tier limit of parts that can be attached.
- Power Generated: Number of power levels for different ship parts.
- Repair Rate: Speed of power recovery after damage.
- Reactor Health: Damage tolerance before losing power.
- Hull: Increases ship's health.
- Crew Capacity: Increases crew accommodation.
The Reactor is the power source of your ship. It determines the number of components you can activate and how efficiently they operate. Power levels can be allocated to different ship parts during space flight, allowing you to adapt to various situations.
The reactor's health and repair rate determine how well the reactor can recover from damage. Upgrading your reactor can unlock the ability to use higher-tier parts, giving you access to more advanced systems and capabilities.
Weapons

- Class: Tier of the ship part.
- Range: Maximum distance of weapon efficiency.
- Fire Rate: Frequency of firing or launching projectiles.
- Hull DMG: Damage to ship's health.
- Shield DMG: Damage to ship's shield.
- Max Power: Maximum power allocation during flight.
- Hull: Increases ship's health.
- Crew Capacity: Increases crew accommodation.
Weapons are essential for space combat. Your ship has three weapon slots, and there are various types of weapon modules like cannons, lasers, and missile systems. Each weapon type has its own advantages and disadvantages, allowing you to tailor your combat style.
The class of the weapon determines its overall effectiveness and the types of enemies it can effectively engage. The range and fire rate are crucial for tactical positioning in combat. Power allocation is also a key consideration, as more powerful weapons may require a significant portion of your ship's available power.
Shield Generator
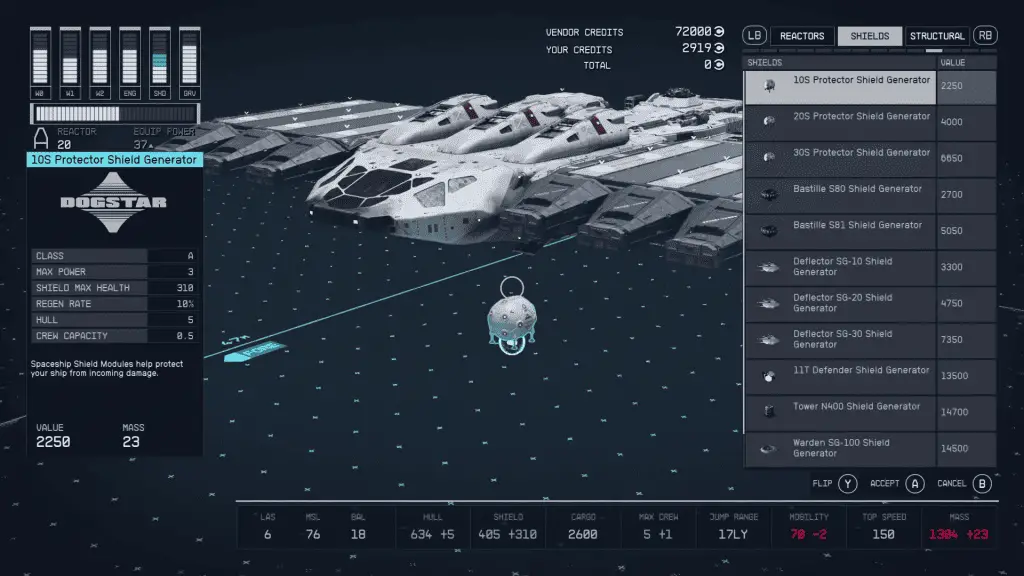
- Class: Tier of the ship part.
- Max Power: Maximum power allocation during flight.
- Shield Max Health: Maximum damage tolerance before ship takes damage.
- Regen Rate: Time for shield regeneration.
- Hull: Increases ship's health.
- Crew Capacity: Increases crew accommodation.
The Shield Generator provides a protective barrier around your ship. It prevents your ship from taking damage and can be customized to protect against different types of damage during space combat.
The class of the shield generator determines its overall effectiveness and the types of attacks it can withstand. The maximum power allocation affects how much of your ship's power can be dedicated to maintaining the shield.
Shield health and regeneration rate are critical for surviving prolonged engagements. Upgrading your shield generator can provide additional layers of protection, including faster regeneration and higher damage tolerance.
Engines
- Class: Tier of the ship part.
- Max Power: Maximum power allocation during flight.
- Engine Thrust: Maximum speed in a straight line.
- Maneuvering Thrust: Maximum speed when turning.
- Engine Health: Damage tolerance before malfunction.
- Hull: Increases ship's health.
- Crew Capacity: Increases crew accommodation.
Engines are responsible for your ship's movement. The class of the engine determines the traveling speed and can be customized to improve both straight-line and maneuvering speeds.
Engine thrust affects your top speed, which is crucial for both combat and exploration. Maneuvering thrust is essential for dodging enemy attacks and navigating through obstacles. Engine health is another important factor, as damaged engines can severely limit your mobility.
Upgrading your engines can provide a significant boost to your ship's speed and agility, allowing you to outmaneuver your enemies and reach your destinations more quickly.
Grav Drive
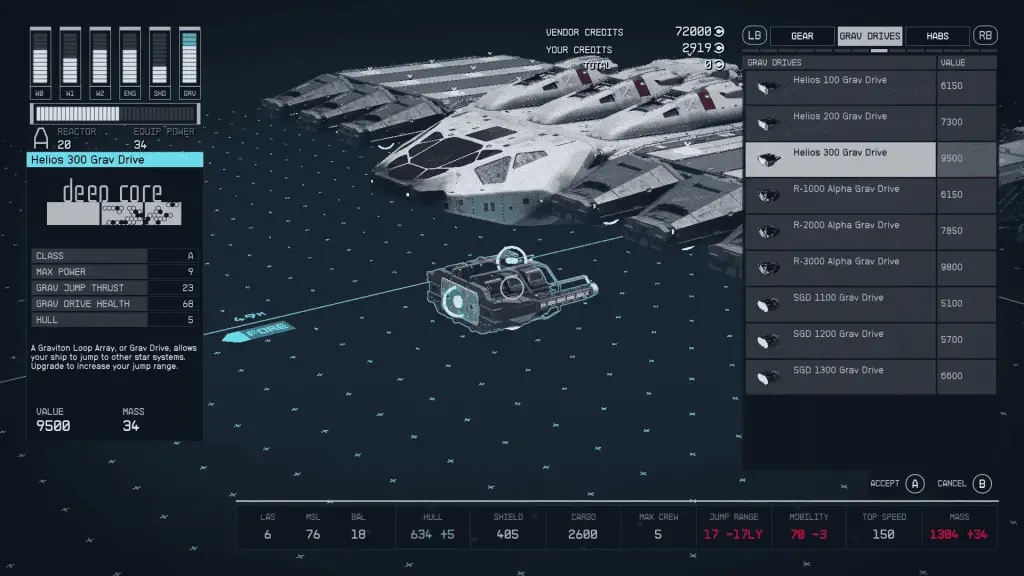
- Class: Tier of the ship part.
- Max Power: Maximum power allocation during flight.
- Grav Jump Thrust: Maximum jump distance.
- Grav Drive Health: Damage tolerance before malfunction.
- Hull: Increases ship's health.
The Grav allows you to make long-distance jumps between star systems. Upgrading this part can significantly increase your jump range, allowing you to explore further reaches of the galaxy more efficiently. The Grav Drive also has a health parameter, indicating how much damage it can take before malfunctioning. A malfunctioning Grav Drive could leave you stranded in deep space, so it's crucial to keep it in top condition. The Grav Drive's performance is also tied to the amount of power allocated to it, which comes from the ship's reactor.
Fuel Tanks
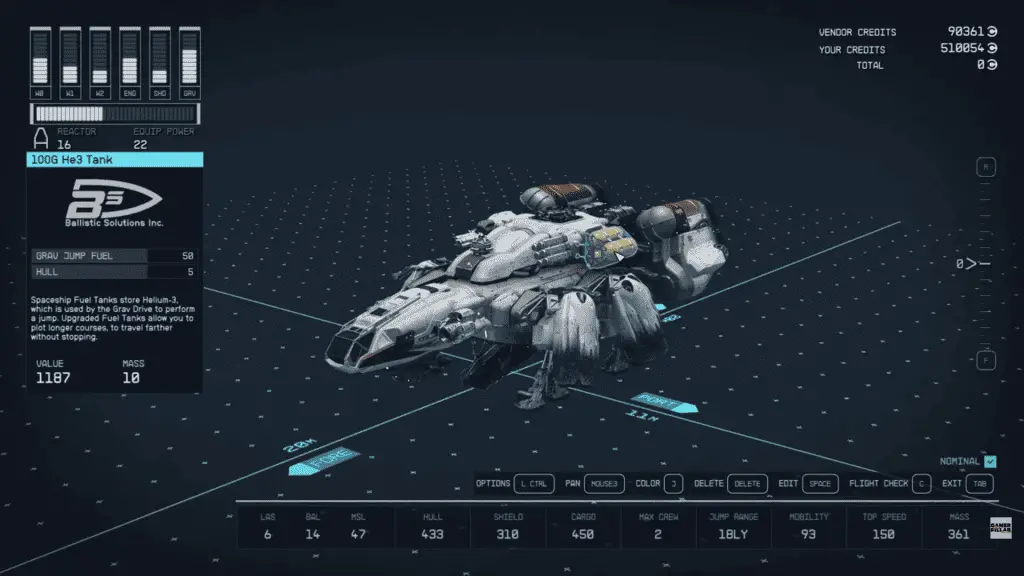
- Grav Jump Fuel: Amount of fuel storage for grav jumps.
- Hull: Increases ship's health.
Fuel Tanks are essential for any long-distance travel. They store the fuel needed for your Grav Drive to make jumps between star systems. The size of your fuel tanks directly impacts how far you can travel without needing to refuel. While larger tanks allow for longer journeys, they may take up valuable space that could be used for other systems or cargo. It's a balancing act between range and utility. Fuel Tanks are automatically replenished between jumps, so you don't have to worry about running out of fuel in the middle of a jump.
Cockpit
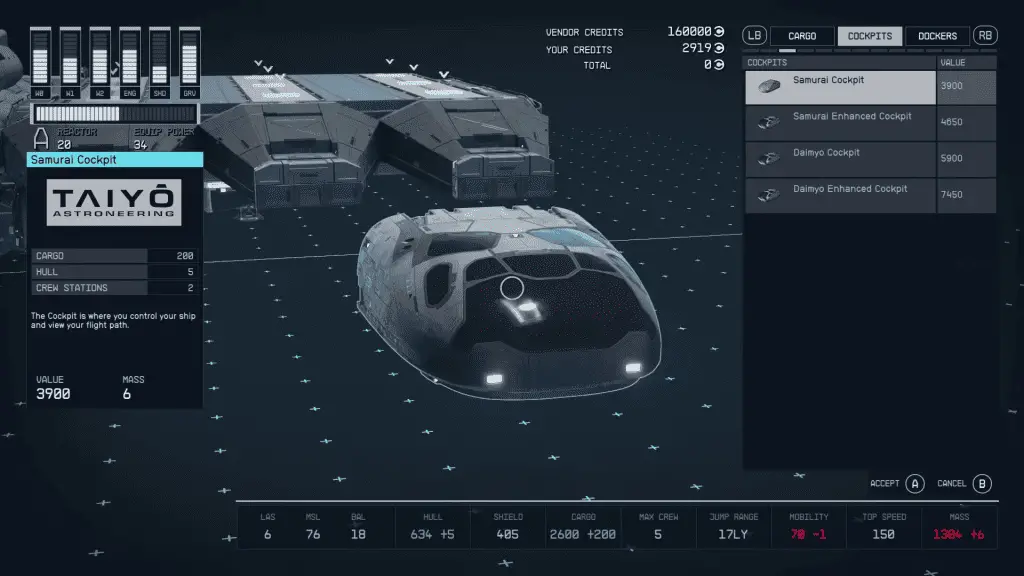
- Cargo: Increases item storage.
- Hull: Increases ship's health.
The Cockpit is the command center of your ship. It's where all the piloting and navigation happen. The cockpit can be customized to increase item storage, which is represented by the "Cargo" stat. It also contributes to the overall health of the ship. Advanced cockpits may offer better control systems, including more efficient navigation aids and even automated piloting options. The "Crew Stations" stat is still to be determined but could indicate the number of crew members that can operate within the cockpit.
Cargo Hold
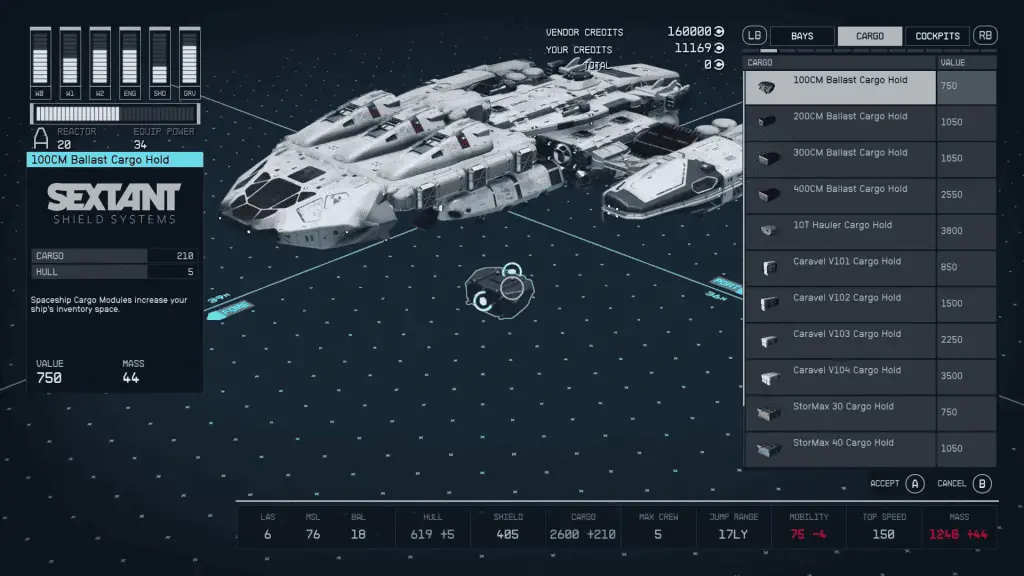
- Cargo: Increases item storage.
- Shielded Cargo: Amount of contraband protection.
- Hull: Increases ship's health.
The Cargo Hold is your ship's primary storage area. It's where you'll keep all the resources, loot, and trade goods you collect during your travels. The size of your cargo hold determines how much you can carry, and it can be upgraded to increase this capacity. An interesting feature of the Cargo Hold is the "Shielded Cargo" stat, which indicates the amount of contraband you can carry without being detected. This could be crucial for players who engage in smuggling or other illicit activities.
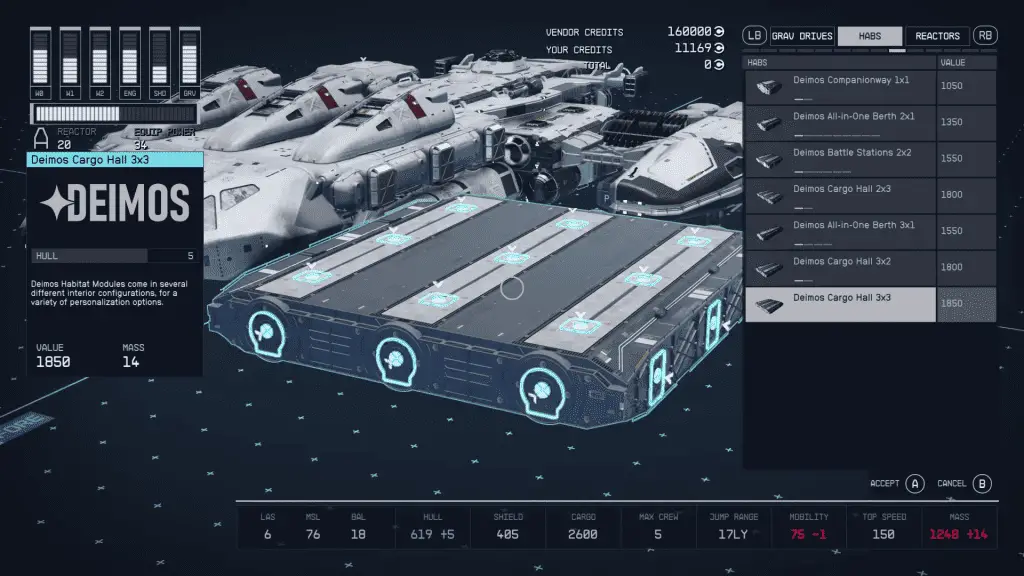
Hab (Habitat)
- All-in-One Berth: Navigation, bed, galley, passenger slots.
- Armory: Weapon and armor storage.
- Battle Station: Navigation, crew stations.
- Brig: Bed, storage.
- Captain's Quarters: Bed, galley, storage.
- Cargo Hall: Storage.
- Companionway: None.
- Computer Core: Storage, crew stations.
- Control Station: Crew stations, galley, storage.
- Cross: None.
- Engineering Bay: Storage.
- Infirmary: Pharmaceutical lab, research lab.
- Living Quarters: Bed.
- Mess Hall: Cooking station, galley.
- Science Lab: Pharmaceutical lab, research lab, galley.
- Storeroom: None.
- Workshop Hab: Weapon workbench, spacesuit workbench, industrial workbench, research lab.
The Hab, short for Habitat, serves multiple functions on your ship. It's not just a place to sleep; it's also where you can store weapons, conduct research, and even cook meals. The Hab can be customized with various modules to serve different functions. For example, you can install an "Armory" for weapon and armor storage, a "Science Lab" for research, or a "Mess Hall" for cooking. The "All-in-One Berth" is a versatile module that includes navigation, a bed, a galley, and passenger slots. The Hab is the most versatile part of your ship and can be tailored to fit your gameplay style.
Docker
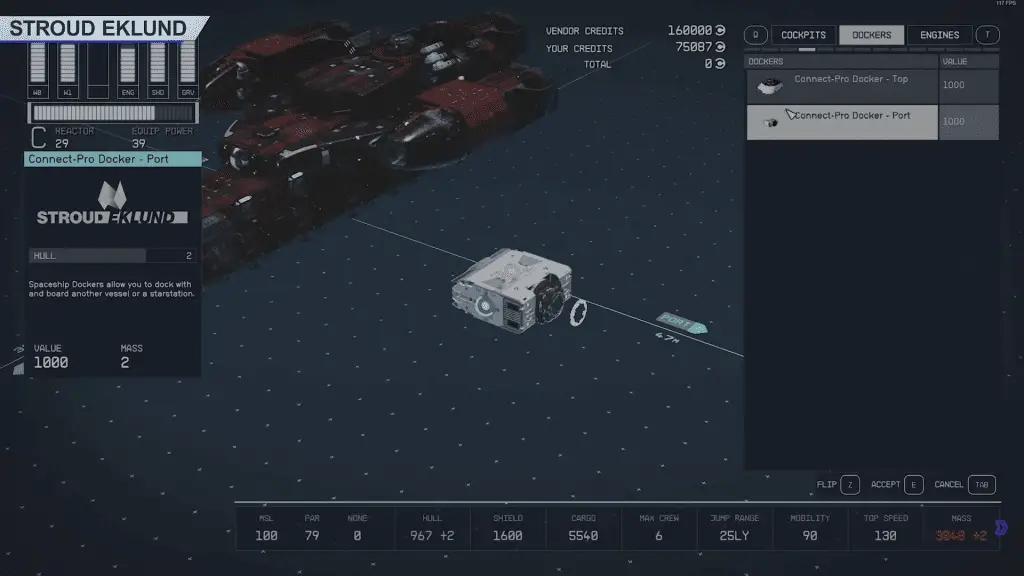
- Hull: Increases ship's health.
The Docker is the component that allows your ship to connect with other structures like space stations, planetary bases, or even other ships. While it may seem like a simple part, a high-quality Docker can make a significant difference. It can speed up the docking process, making it easier and safer, especially in hostile environments or emergency situations. Advanced Dockers may also offer automated docking features, reducing the chances of human error during the procedure.
Landing Bay
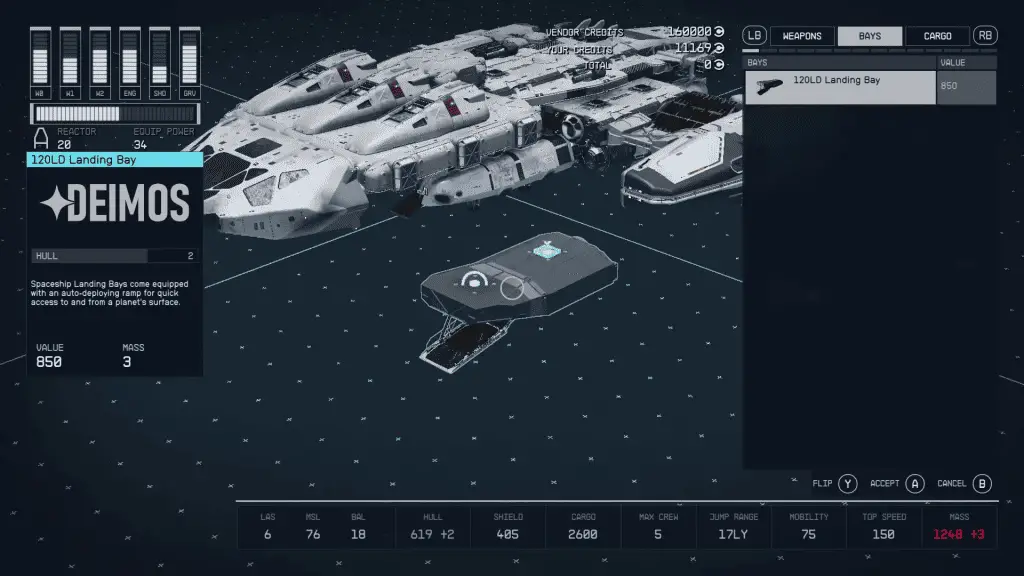
- Hull: Increases ship's health.
The Landing Bay is essentially the "front door" of your ship when you're on a planet's surface. It's where you'll deploy and retrieve land vehicles, drones, or even crew members for ground missions. Customizing your Landing Bay can offer various benefits, such as faster deployment mechanisms or additional security features like automated turrets. A well-designed Landing Bay can make your planetary expeditions more efficient and safer.
Landing Gears
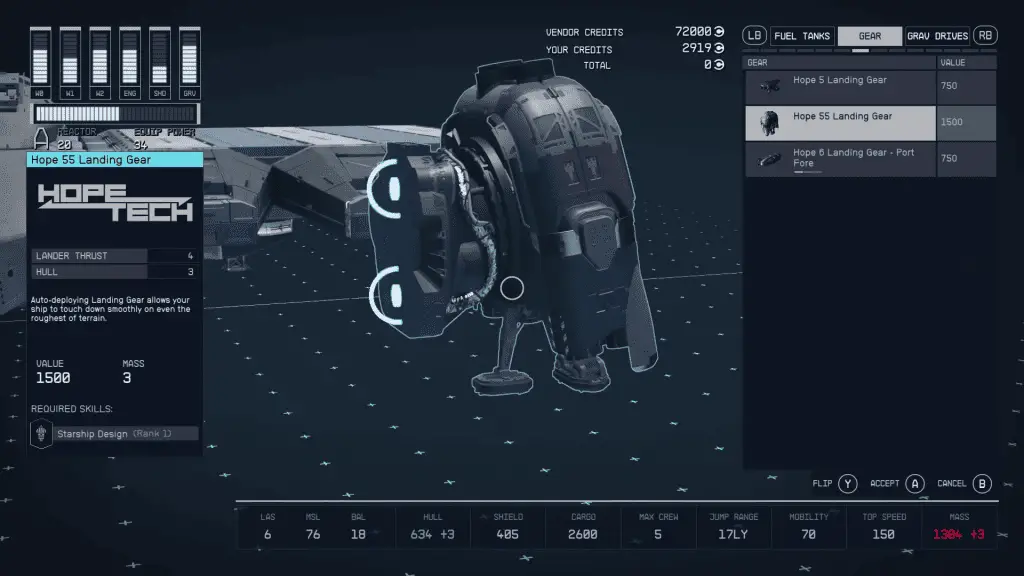
- Lander Thrust: Determines the ship mass that can be carried.
- Hull: Increases ship's health.
Landing Gears are what keep your ship stable when you touch down on a planet. They are more than just "legs" for your ship; they are complex systems that can adapt to different terrains and conditions. Upgrading your Landing Gears can offer better stability, allowing you to land on uneven or rugged terrains. Some advanced models may even have built-in thrusters to assist with softer landings or quick take-offs.
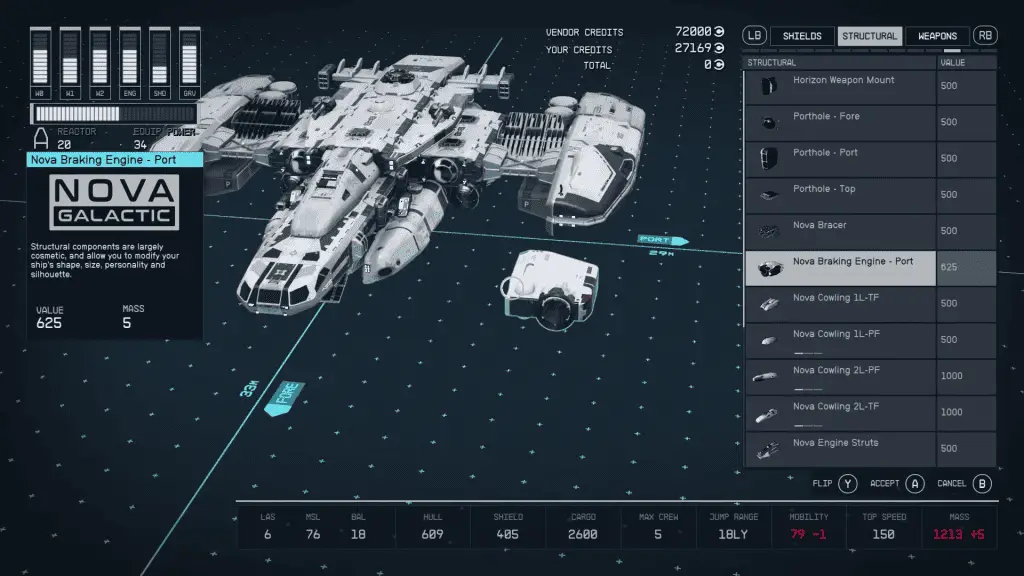
Cowling
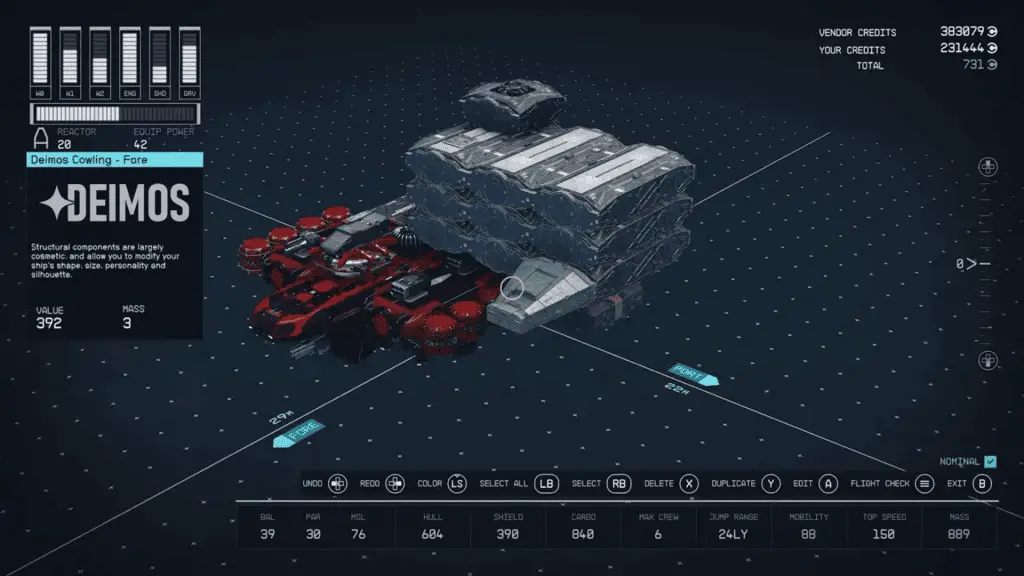
- Cosmetic parts for modifying ship shape and size.
The Cowling is the outer shell or "skin" of your ship. While it's primarily cosmetic, different Cowlings can offer various benefits. For example, a stealth Cowling could make your ship less detectable, while a reinforced one could offer extra protection against environmental hazards like radiation or extreme temperatures. Customizing the Cowling allows you to personalize your ship's appearance while also adding some functional benefits.
Equipment
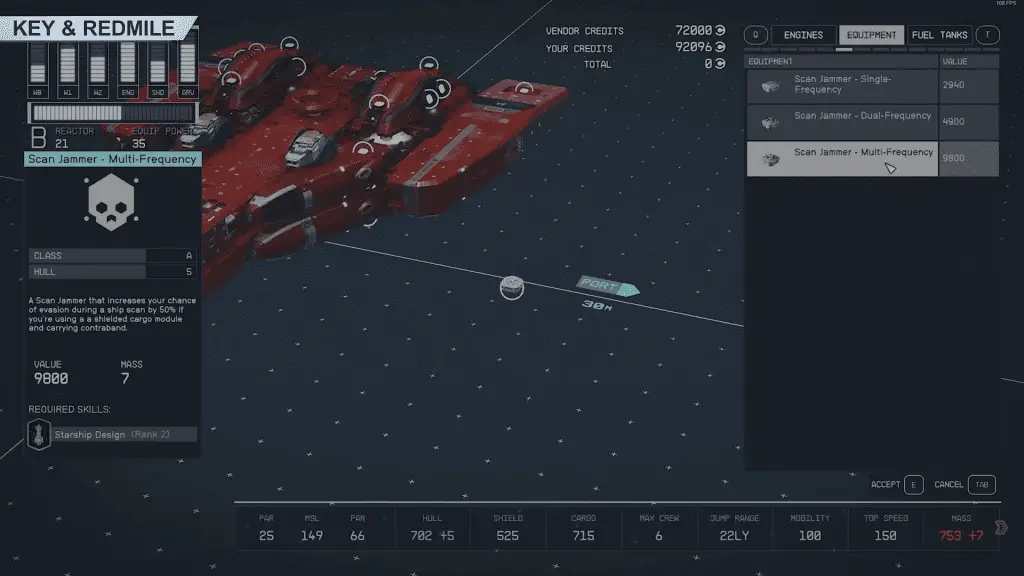
- Rare ship parts found on specific shops in specific planets.
Equipment refers to specialized ship parts that you can find in specific locations or shops on different planets. These are often rare and offer unique features or capabilities that standard parts don't provide. For example, you might find a special reactor that consumes less fuel or a unique weapon system with capabilities beyond standard models. Equipment pieces are like the "secret sauce" that can give your ship an edge, making them highly sought after.
Related:
- Best Places to Buy Resources in Starfield
- Selling Contraband (Vendors | Finding | Smuggling)
- Starfield: What Happens to Cargo When You Change Ships?