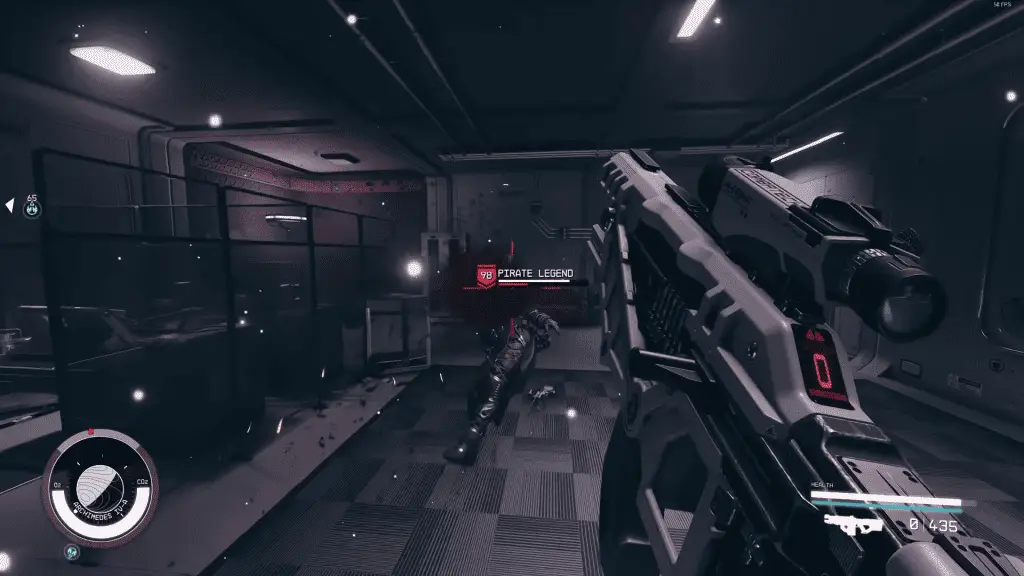
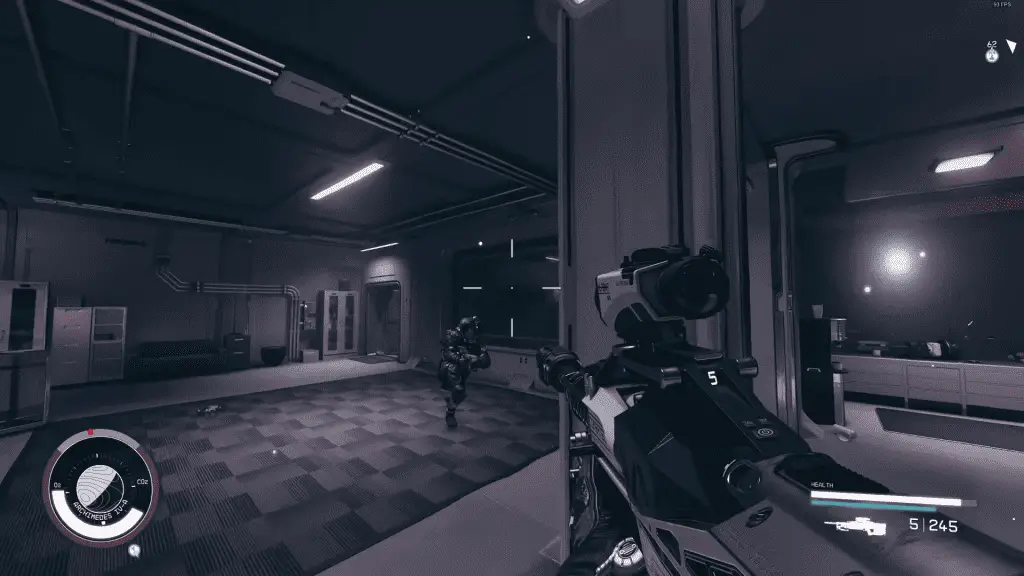
In this Starfield rifles tier list, the focus is on evaluating rifles based on several key factors: their damage output, cost-effectiveness in terms of both the weapon and its ammunition, the availability of the rifles throughout the game, and the accessibility of ammo. This tier list categorizes rifles in Starfield based on their overall effectiveness. High-tier rifles are versatile and effective in various game stages, while lower-tier rifles are more situational or less effective overall.
| Tier | Rifle Name | Key Features |
|---|---|---|
| D | Magpulse | High damage, costly and scarce ammo |
| D | Equinox | Very low damage, common |
| D | Magshear | High fire rate, inefficient ammo use |
| D | Kodama | Fast, lacks damage |
| D | Maelstrom | Weak, primarily for early game |
| C | Orion | Easy to find, lower damage |
| C | Grendel | Common, less effective in late-game |
| C | Lawgiver | Moderate damage, early game option |
| B | Old Earth Hunting Rifle | Common, effective early to mid-game |
| B | Tombstone | Economical, good for early to mid-game |
| B | AA-99 | Reliable, better than Tombstone, less effective late-game |
| A | Target Magsniper | Rare, high damage, limited ammo |
| A | Beowulf | High damage, common ammo |
| A | Drum Beat | Quick firing, effective up to late game |
| S | Hard Target | High damage, effective in all game stages |
| S | Va'ruun Inflictor | High damage, versatile, effective at all ranges |
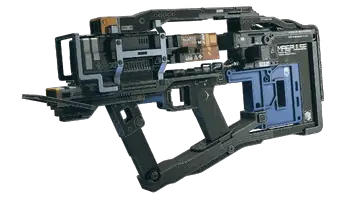
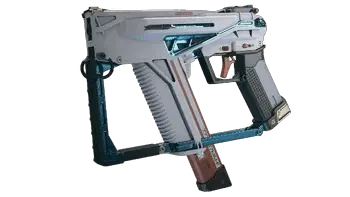
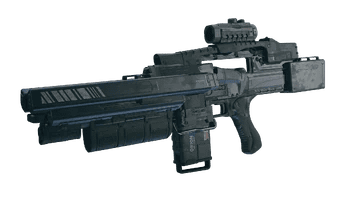
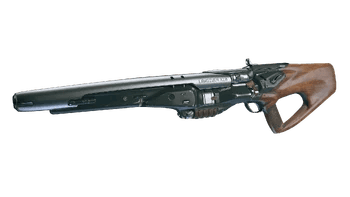
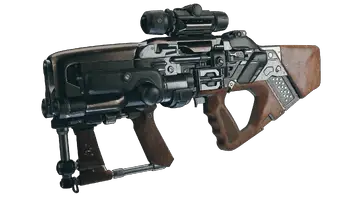
Magpulse (D-Tier)
| Magpulse | Detail |
|---|---|
| Damage | 71 |
| Ammo | 6.5mm MI Array |
| Clip Size | 20 |
| Fire Rate | 17 |
| Range | 40 |
| Accuracy | 58.6% |
| Mass | 3.70 |
| Value (Credits) | 13560 |
| Mods | 5 |
The Mag PS stands out for its high damage output, making it a formidable weapon in combat. However, its major drawback is the cost and scarcity of ammunition. This limitation makes it less practical for prolonged use, as players often struggle to maintain an adequate ammo supply, affecting its long-term utility in the game.
Equinox (D-Tier)
| Equinox | Detail |
|---|---|
| Damage | 13 |
| Ammo | 3kV LZR Cartridge |
| Clip Size | 20 |
| Range | 50 |
| Accuracy | 70.2% |
| Mass | 3.20 |
| Value (Credits) | 2408 |
| Mods | 7 |
The Equinox is a commonly found rifle in Starfield, offering players easy access to firepower. However, its major drawback is the very low damage it deals. This significantly reduces its combat effectiveness, especially against more formidable opponents, making it a less desirable choice for players seeking more powerful weaponry.
Magshear (D-Tier)

| Magshear | Detail |
|---|---|
| Damage | 13 |
| Ammo | .50 MI Array |
| Clip Size | 75 |
| Fire Rate | 300 |
| Range | 52 |
| Accuracy | 66.5% |
| Mass | 3.90 |
| Value (Credits) | 28192 |
| Mods | 5 |
Known for its high fire rate, the Magshear allows for quick engagement with enemies, especially effective in situations involving multiple targets. The downside is its inefficient ammo consumption. The rapid depletion of ammunition can be a significant issue during extended fights, necessitating frequent resupply and making it less ideal for sustained combat.
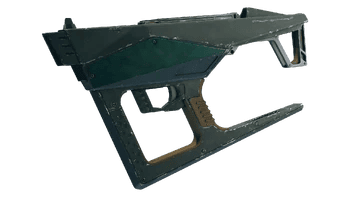
Kodama (D-Tier)
| Kodama | Detail |
|---|---|
| Manufacturer | CombaTech |
| Damage | 13 |
| Ammo | 7.77mm Caseless |
| Clip Size | 30 |
| Fire Rate | 170 |
| Range | 20 |
| Accuracy | 65.7% |
| Mass | 2.25 |
| Value (Credits) | 5632 |
| Mods | 7 |
The Kodama stands out for its fast shooting rate, enabling players to maintain a steady stream of fire against opponents. However, its major drawback is the lack of substantial damage per shot. This deficiency means that while it can fire quickly, it may not be as effective in quickly taking down tougher enemies, especially in the later stages of the game.
Maelstrom (D-Tier)
| Maelstrom | Detail |
|---|---|
| Manufacturer | Crimson Fleet |
| Damage | 4 |
| Ammo | 6.5mm CT |
| Clip Size | 40 |
| Fire Rate | 150 |
| Range | 40 |
| Accuracy | 65.8% |
| Mass | 4.15 |
| Value (Credits) | 1210 |
| Mods | 7 |
Maelstrom is characterized as a weak rifle, primarily suited for early-game use. Its low damage output makes it less effective against stronger enemies encountered as the game progresses. This rifle is typically used in the initial stages of the game and is often phased out as players find more powerful weapons.
Orion (C-Tier)
| Orion | Detail |
|---|---|
| Damage | 27 |
| Ammo | 3kV LZR Cartridge |
| Clip Size | 35 |
| Fire Rate | 33 |
| Range | 50 |
| Accuracy | 77% |
| Mass | 5.25 |
| Value (Credits) | 5227 |
| Mods | 7 |

The Orion is easily accessible within the game, making it a convenient choice for players. Its major limitation is its relatively low damage output, which may hinder its effectiveness in tougher combat scenarios, particularly against stronger enemies.
Grendel (C-Tier)
| Grendel | Detail |
|---|---|
| Ammo | 7.77mm Caseless |
| Clip Size | 50 |
| Fire Rate | 170 |
| Range | 20 |
| Accuracy | 66.2% |
| Mass | 2.65 |
| Value (Credits) | 1402 |
| Mods | 8 |
Commonly available, the Grendel is a rifle that players can easily acquire in Starfield. While it serves well in the early and possibly mid-game stages, its effectiveness diminishes in the late game. This limitation makes it less suitable for players as they progress to more challenging parts of the game, where more powerful weapons are needed.
Lawgiver (C-Tier)
| Lawgiver | Detail |
|---|---|
| Type | Ballistic |
| Class | Rifle |
| Damage | 37 |
| Ammo | .50 Caliber Caseless |
| Clip Size | 6 |
| Fire Rate | 10 |
| Range | 40 |
| Accuracy | 68% |
| Mass | 3.60 |
| Value (Credits) | 2395 |
| Mods | 6 |
The Lawgiver is a moderate-damage rifle, making it a viable option in the early stages of Starfield. While it doesn't offer the high damage output of more advanced rifles, its balanced performance makes it a decent choice for players starting their journey. However, as players advance and encounter tougher challenges, the Lawgiver may not provide the firepower needed to be effective.
Old Hunting Earth Rifle (B-Tier)
| Old Earth Hunting Rifle | Detail |
|---|---|
| Damage | 30 |
| Ammo | 9×39mm |
| Clip Size | 20 |
| Fire Rate | 40 |
| Range | 100 |
| Accuracy | 86.8% |
| Mass | 3.15 |
| Value (Credits) | 5264 |
| Mods | 3 |
This rifle is a common find in Starfield, making it a reliable option for players. Its ammunition is easy to come by, ensuring consistent usability. The rifle shines in the early to mid-game stages, offering a solid performance. However, its effectiveness may wane in the later parts of the game.
Tombstone (B-Tier)
| Tombstone | Detail |
|---|---|
| Damage | 19 |
| Ammo | 11mm Caseless |
| Clip Size | 20 |
| Fire Rate | 90 |
| Range | 40 |
| Accuracy | 72.8% |
| Mass | 4.15 |
| Value (Credits) | 6150 |
| Mods | 6 |
The Tombstone is an economical choice, both in terms of the weapon itself and its ammunition. It's particularly effective in the early to mid-game stages, providing a balanced option for players as they progress. Its cost-effectiveness makes it a practical weapon for various combat situations.
AA-99 (B-Tier)
| AR-99 | Detail |
|---|---|
| Manufacturer | Allied Armaments |
| Damage | 17 |
| Ammo | 11mm Caseless |
| Clip Size | 30 |
| Fire Rate | 112 |
| Range | 40 |
| Accuracy | 65.7% |
| Mass | 3.00 |
| Value (Credits) | 7865 |
| Mods | 8 |

The AA-99 is a reliable rifle, offering better performance than the Tombstone. It stands out for its consistent functionality and is a solid choice for various combat scenarios. However, as players advance to the late-game stages, the AA-99 tends to phase out in favor of more powerful weapons that can handle the increasing difficulty and stronger enemies encountered.
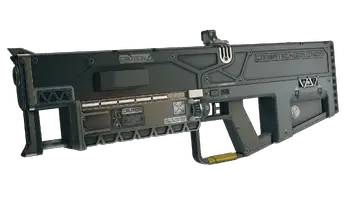
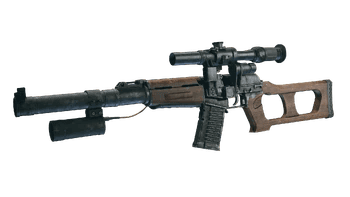
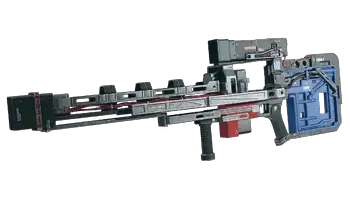
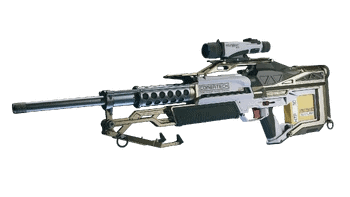
Target Magsniper (A-Tier)
| Magsniper | Detail |
|---|---|
| Damage | 223 |
| Ammo | 6.5mm MI Array |
| Clip Size | 12 |
| Fire Rate | 17 |
| Range | 100 |
| Accuracy | 86.1% |
| Mass | 9.55 |
| Value (Credits) | 27790 |
| Mods | 6 |
This rifle is a rare find in the game, adding a sense of exclusivity and value. It delivers high damage, making it a formidable weapon in long-range combat. However, its effectiveness is somewhat hampered by the scarcity of ammunition. Players using the Target Magsniper need to be strategic about their shots, as finding ammo can be challenging, especially during critical moments in the game.
Beowulf (A-Tier)
| Beowulf | Detail |
|---|---|
| Manufacturer | CombaTech |
| Damage | 36 |
| Ammo | 7.77mm Caseless |
| Clip Size | 30 |
| Fire Rate | 50 |
| Range | 40 |
| Accuracy | 69.1% |
| Mass | 2.80 |
| Value (Credits) | 4820 |
| Mods | 8 |
High damage and common ammunition availability make Beowulf a highly versatile and effective weapon in Starfield. Its ability to consistently deal significant damage, coupled with the ease of finding ammo, ensures that players can use it effectively throughout different stages of the game. This combination of power and practicality places Beowulf among the top choices for players seeking a reliable and potent firearm.
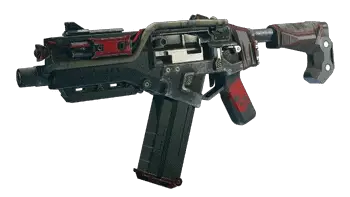
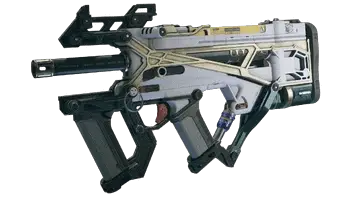
Drum Beat (A-Tier)
| Drum Beat | Detail |
|---|---|
| Manufacturer | CombaTech |
| Damage | 8 |
| Ammo | 11mm Caseless |
| Clip Size | 60 |
| Fire Rate | 160 |
| Range | 40 |
| Accuracy | 65.6% |
| Mass | 4.30 |
| Value (Credits) | 5606 |
| Mods | 7 |
Drum Beat is known for its rapid-firing capability, allowing players to unleash a barrage of bullets in a short time. This feature makes it highly effective in various combat situations, especially when dealing with multiple enemies. Its effectiveness extends up to the late-game stages, providing players with a reliable weapon choice as they progress through more challenging parts of Starfield.
Hard Target (S-Tier)
| Hard Target | Detail |
|---|---|
| Damage | 116 |
| Ammo | .50 Caliber Caseless |
| Clip Size | 5 |
| Fire Rate | 25 |
| Range | 100 |
| Accuracy | 74.2% |
| Mass | 9.15 |
| Value (Credits) | 20510 |
| Mods | 7 |
The Hard Target is renowned for its high damage output, making it the most powerful weapon choice in Starfield. Its effectiveness spans all game stages, from early encounters to late-game battles. This versatility ensures that players can rely on it throughout their journey, making it a top-tier choice for consistent performance against a variety of enemies.
Va'ruun Inflictor (S-Tier)
| Va'ruun Inflictor | Detail |
|---|---|
| Manufacturer | House Va'ruun |
| Damage (Physical) | 38 |
| Damage (Energy) | 113 |
| Ammo | Heavy Particle Fuse |
| Clip Size | 20 |
| Fire Rate | 25 |
| Range | 50 |
| Accuracy | 70% |
| Mass | 3.75 |
| Value (Credits) | 22500 |
| Mods | 6 |
The Va'ruun Inflictor is a top-tier weapon in Starfield, boasting high damage and an abundance of ammunition. This combination makes it a highly versatile and powerful weapon choice for players. Its ability to deliver significant damage across close, medium, and long-range combat, coupled with the ease of finding ammo, ensures that it remains a go-to weapon throughout all stages of the game. The Va'ruun Inflictor well-rounded capabilities make it one of the best choices for players seeking a reliable and potent firearm.
More on Starfield:
- Starfield: Best Pistol Tier List
- Ballistic Weapon Explained
- Starfield Weapon Tier and Weapon Rarities Explained
- Best Ship in Starfield
- Starfield: Top 5 Best Traits