Robocop Rogue City offers a range of skins that allow players to customize their character with various appearances reflective of the Robocop universe. Changing skins is a feature that allows you to customize the appearance of your armor and pistol. This customization is not just a visual delight but also a strategic element, as it can sometimes influence the gameplay experience. Here’s how you can change skins in the game:
1. Go to Options Menu: Start by navigating to the game's main menu. From there, locate the 'Options' menu.

2. Navigate to Gameplay Tab: Once in the Options menu, go to the 'Gameplay' tab. You will see a range of available skins. Some skins are available from the start, while others may need to be unlocked through gameplay progression or purchases. Similarly, for pistol skins, go to the 'Pistol Skins' section. Browse through the options and select the skin that appeals to you. Like armor skins, pistol skins may also have unlock requirements.
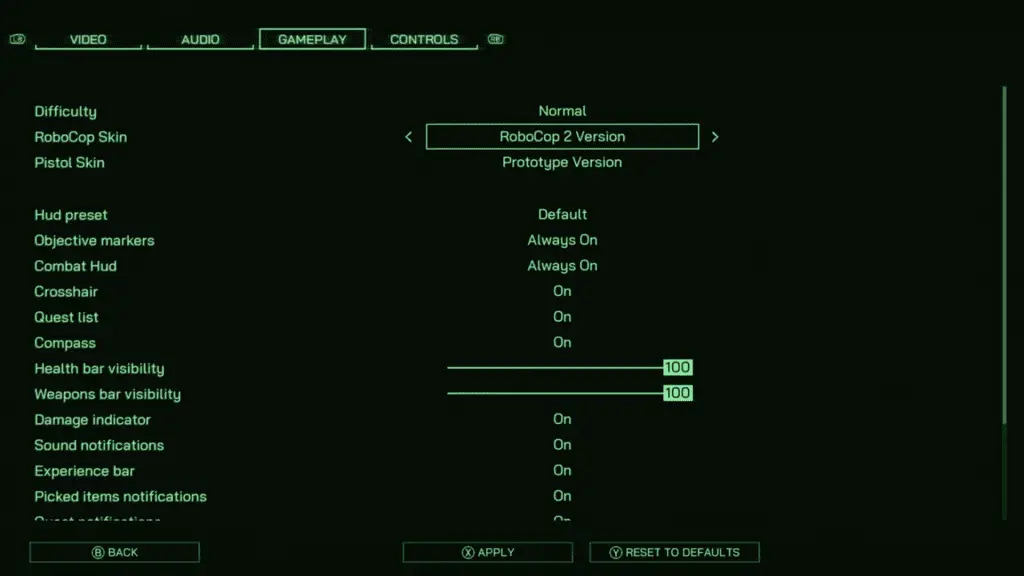
3. Applying the Skins: After selecting your desired skin, confirm your choice. The game will apply the new skin, and you can see the changes immediately on your character model in the preview section.
Available Skins: The Vanguard Pack in "Robocop Rogue City" includes the iconic blue armor from "Robocop 2" and a "Pitch Black" Auto-9 pistol skin. For those with the Alex Murphy Edition, it encompasses all Vanguard Pack items plus the original movie's damaged armor and a "Prototype" version of the Auto-9 pistol, enhancing the game with a deeper dive into the Robocop legacy.
Learn More: