In "Baldur's Gate 3," Act 1 unfolds in the Wilderness, offering a true Dungeons & Dragons experience with numerous paths and outcomes for each quest. This flexibility allows players to tackle tasks in any order, guided by their playstyle or sheer curiosity. Our walkthrough guides players through Act 1 journey.
Starting Point: Your journey in Act 1 begins at the crash site of the Nautiloid ship. Start at the crash site of the Nautiloid ship in the southeastern part of the map. This area serves as your introduction to the game's mechanics and story.
Meeting Shadowheart: Travel northeast along the beach until you reach the Overgrown Ruins. Here, you'll encounter Shadowheart, a key companion. Your interaction with her can shape future events, so choose your dialogue options carefully.

Return to the Ship: After meeting Shadowheart, head back to the Nautiloid ship. This time, explore different parts of the ship to uncover hidden areas, loot, and additional enemies.
Finding Astarion: As you move northwest of the ship, you'll come across Astarion. He's a potential companion with a unique background and abilities. His skills can be particularly useful for stealth and ranged attacks.

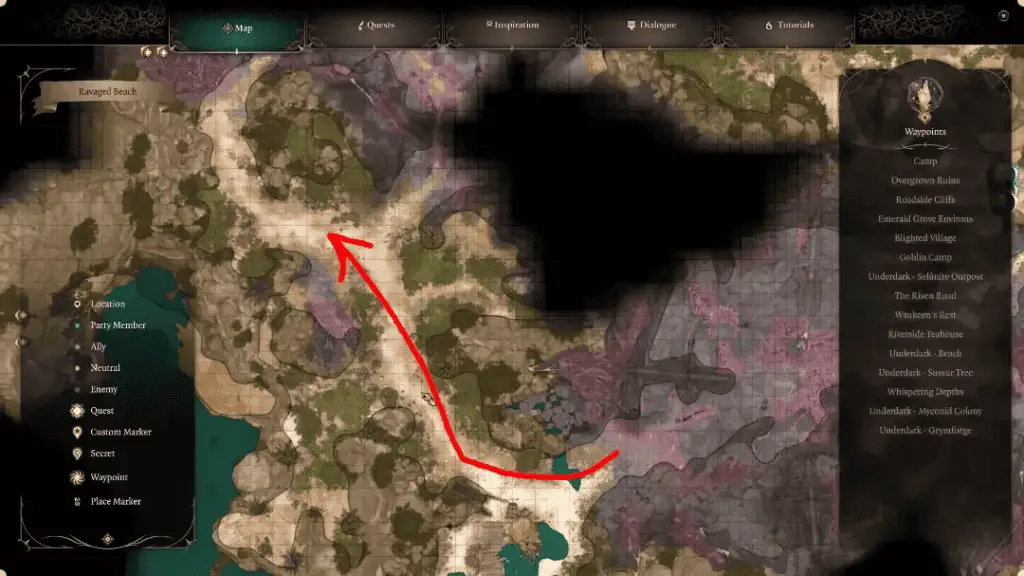
Journey to Roadside Cliffs: Your next destination is the Roadside Cliffs waypoint. The journey there introduces more of the game's world and potential encounters.
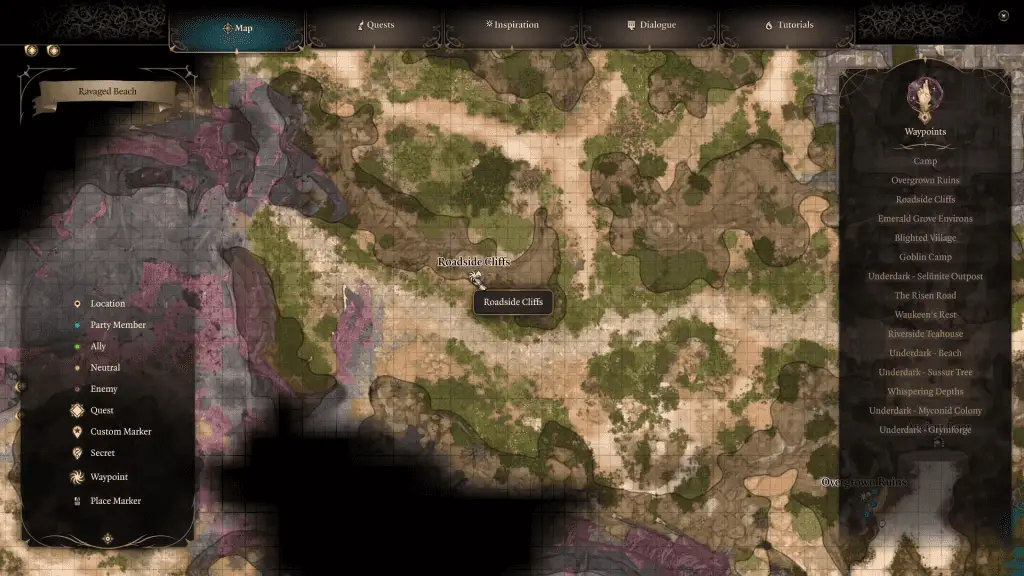
Rescuing Gale: At the Roadside Cliffs, you'll find Gale, a wizard who needs your help. Assisting him not only adds him to your party but also unlocks his arcane abilities for your use. With Gale's addition, you now have a full party. This is a significant milestone in the game, as a complete party allows for more strategic depth in combat and interactions.

Related: What Happens If Gale Explodes?
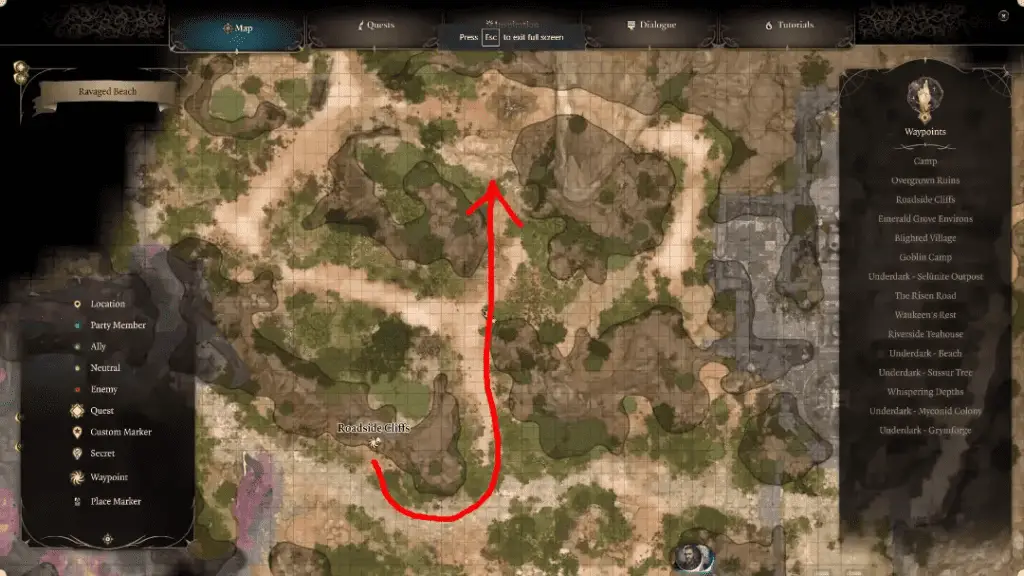
Rescuing Lae'zel: North of the Roadside Cliffs, you'll find Lae'zel, a Githyanki warrior, trapped in a cage. Rescuing her can be a strategic move as she's a strong melee fighter, adding muscle to your party.
Decision Making: Deciding whether to include Lae'zel in your party impacts your combat strategy and party dynamics. Her aggressive nature and background story bring unique elements to group interactions.

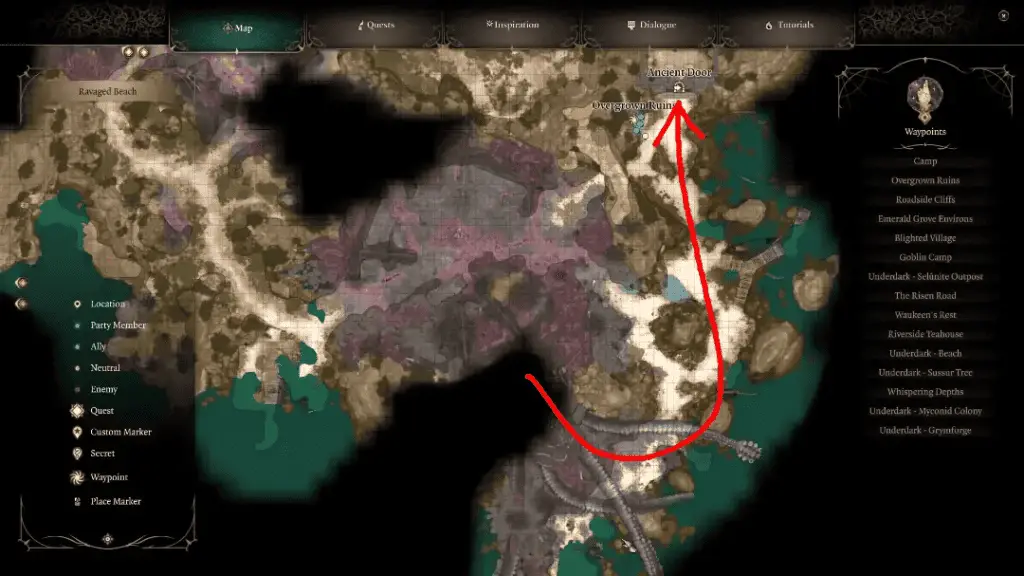
Exploring the Ancient Ruins: Heading east from Lae'zel's location, you'll come across the Ancient Ruins. This area is ripe for exploration, offering both combat challenges and valuable loot.
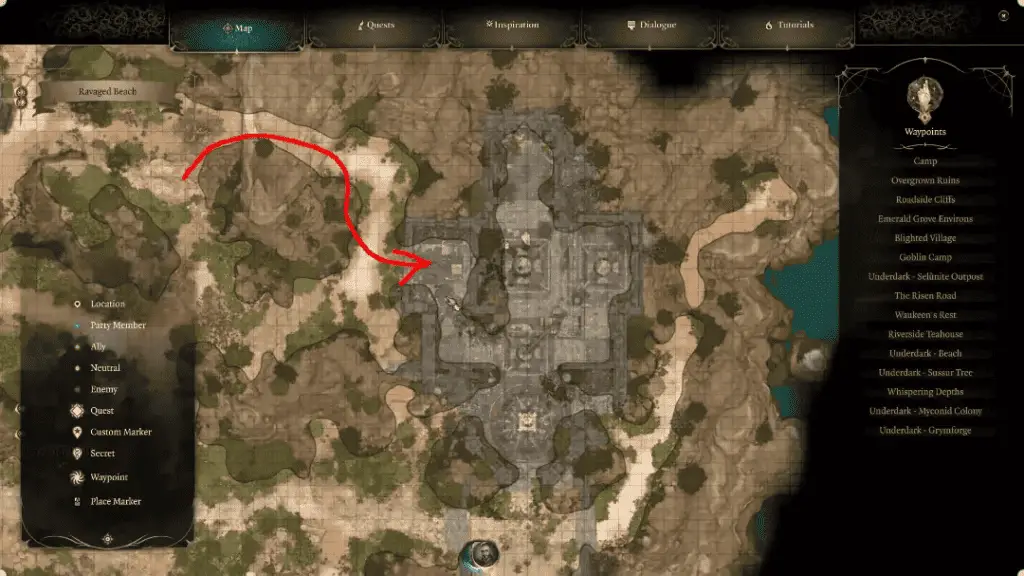
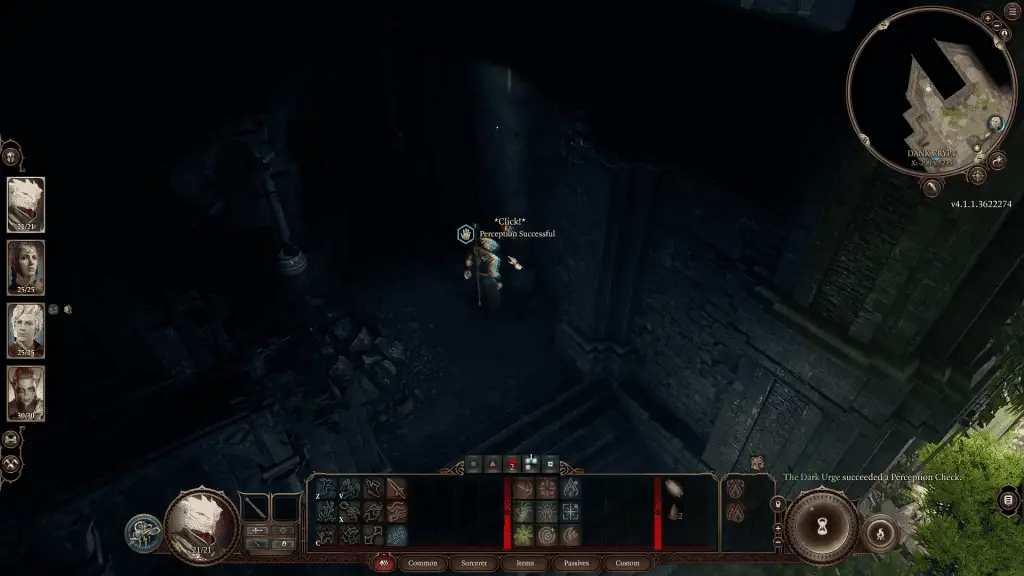
Chapel Secrets: Inside the chapel at the ruins, you'll encounter enemies and a hidden room. Discovering and accessing this room involves a puzzle, leading to a fight against skeletons and a significant storyline character.


Emerald Grove: Return to the Roadside Cliffs and head straight north to the Emerald Grove.

Goblin Attack: Upon reaching the Emerald Grove, you'll immediately be thrust into a conflict where goblins are attacking the town. This encounter is a good test of your party's combat abilities.

Meeting Wyll: After the goblin attack, you'll meet Wyll the Human Warlock, and a potential new companion. His skills and backstory add another layer to your party's capabilities and the game's narrative. Inside the Grove, you'll be tasked with a critical quest to save Halsin, the Druid leader. This quest is central to the Act 1 storyline and involves several key decisions and encounters.

Blighted Village: From the Grove, head straight west to the Blighted Village.
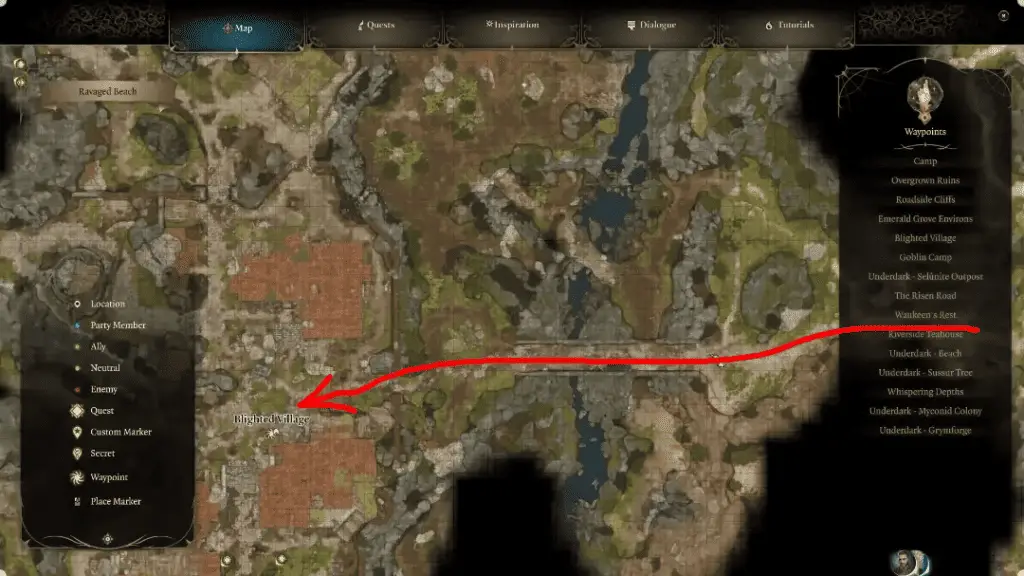
Well and Blacksmith's Cellar: As you approach the Blighted Village, prepare for an ambush by goblins. The village features key locations like a well and a blacksmith's cellar. These areas lead to a spider lair, presenting a challenging combat scenario and the chance to acquire unique items.
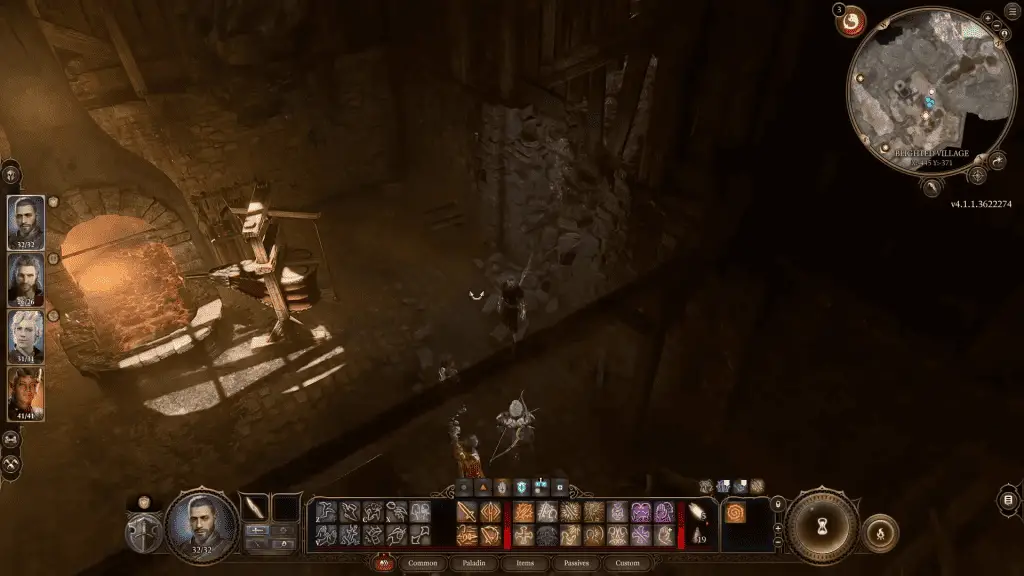
Spider Lair: The spider lair is a dangerous area with multiple spider enemies, including a boss. Beating this challenge requires careful planning and effective use of your party's abilities.
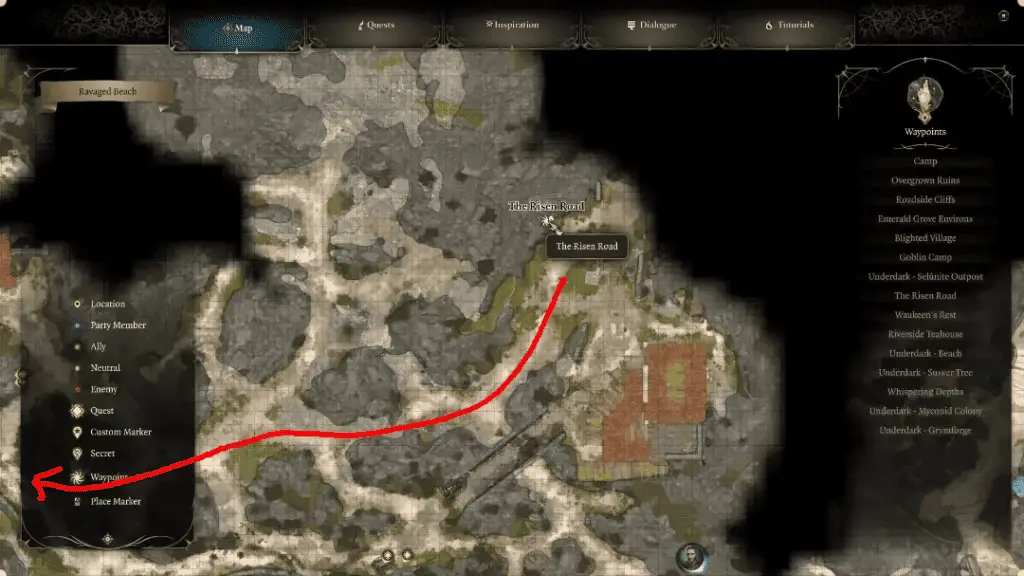
Inn and Risen Road: Head north and northwest across a bridge to an Inn, dealing with Knolls on the way. After dealing with the challenges in the Blighted Village, head towards a large Inn located to the north. Here, you'll encounter a group of dubious paladins. If you choose to engage in combat with the paladins, it's a good opportunity to utilize your party's abilities effectively. Consider the positioning and the unique skills of each party member.
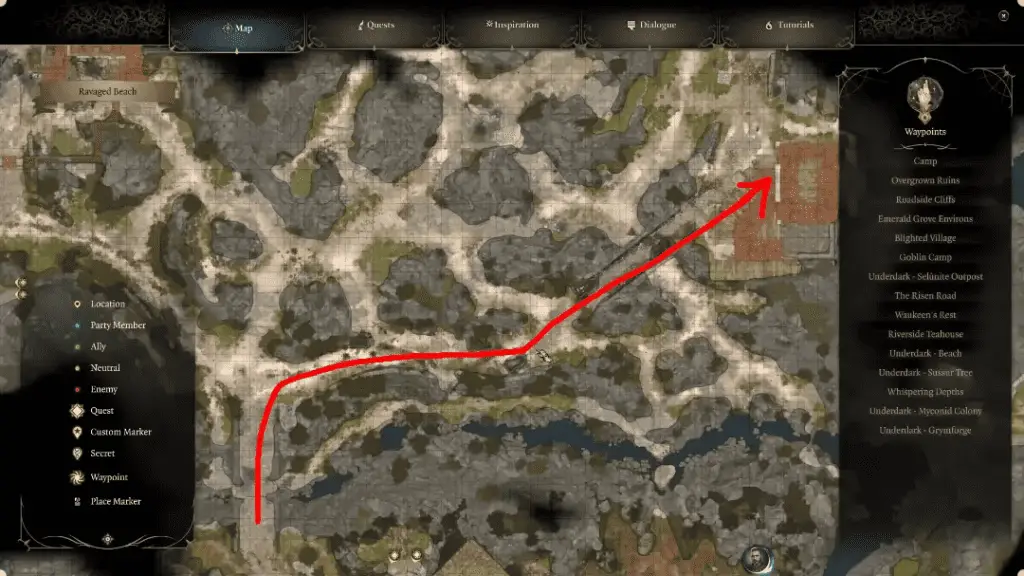
Risen Road Waypoint: After resolving the situation at the Inn, proceed to the Risen Road Waypoint. This area serves as a transition to the next phase of your journey and offers a moment to regroup and plan your next moves.
Head West to Waukeen's Rest: From the Risen Road, your path leads westward. This journey introduces new environments and potential encounters, expanding the game's world and narrative. Upon arriving at Waukeen's Rest, you'll find a group of people trying to break into a building.
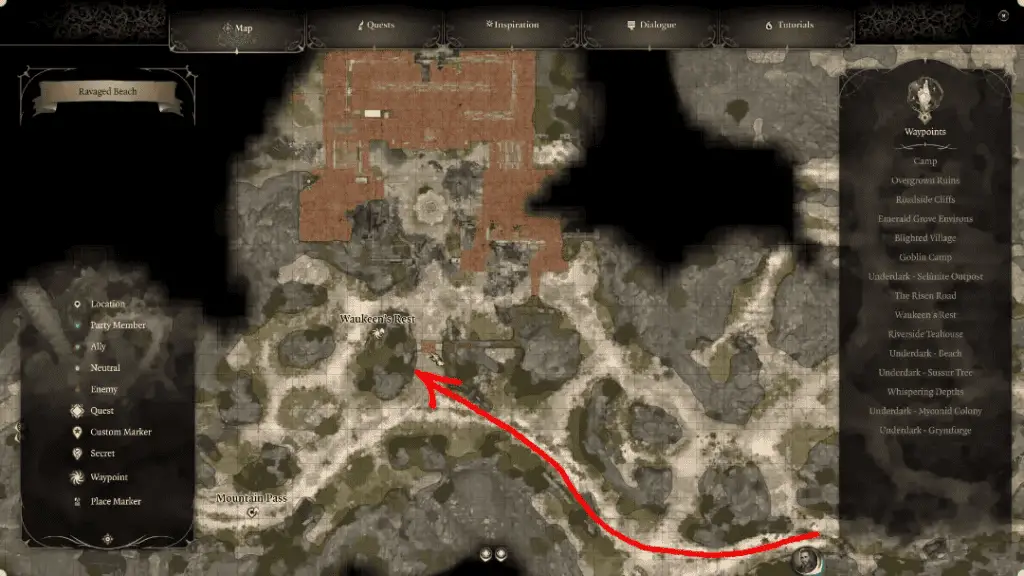
Fire Rescue: One of the key challenges here involves saving their leader from a fire. This task requires quick thinking and effective use of your party's abilities. Successfully completing the tasks at Waukeen's Rest yields valuable rewards. These can include unique items, experience points, and further development of the game's story.

Mountain Pass: After resolving the events at Waukeen's Rest, your journey continues further west. The Mountain Pass is a critical area that introduces a new environment and strategic challenges.

Githyanki Encounter: In this area, you'll come across a group of Githyanki. This encounter can be resolved peacefully or through combat, depending on your choices and dialogue. A peaceful resolution with the Githyanki is advisable, as they are strong opponents. Successfully navigating this encounter without combat rewards you with a significant experience gain.

Lae'zel's Role: If Lae'zel is in your party, her presence can be crucial in this encounter. Her background as a Githyanki can influence the outcome of your interaction with the group.

Riverside Tea House: After your adventures in the Mountain Pass, return to the Blighted Village and head south to the Riverside Tea House. This location is a blend of tranquility and lurking danger, offering a unique atmosphere.
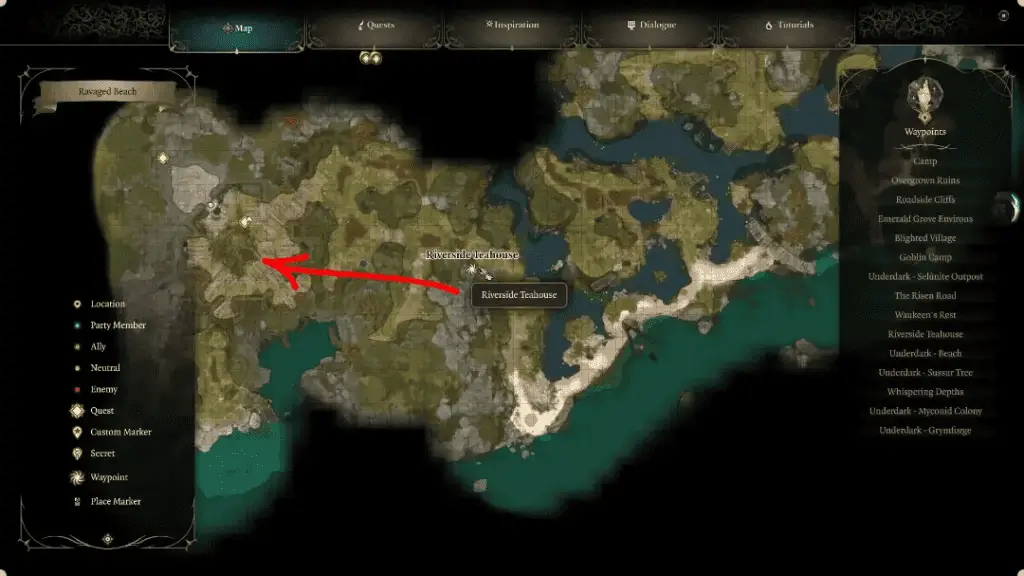
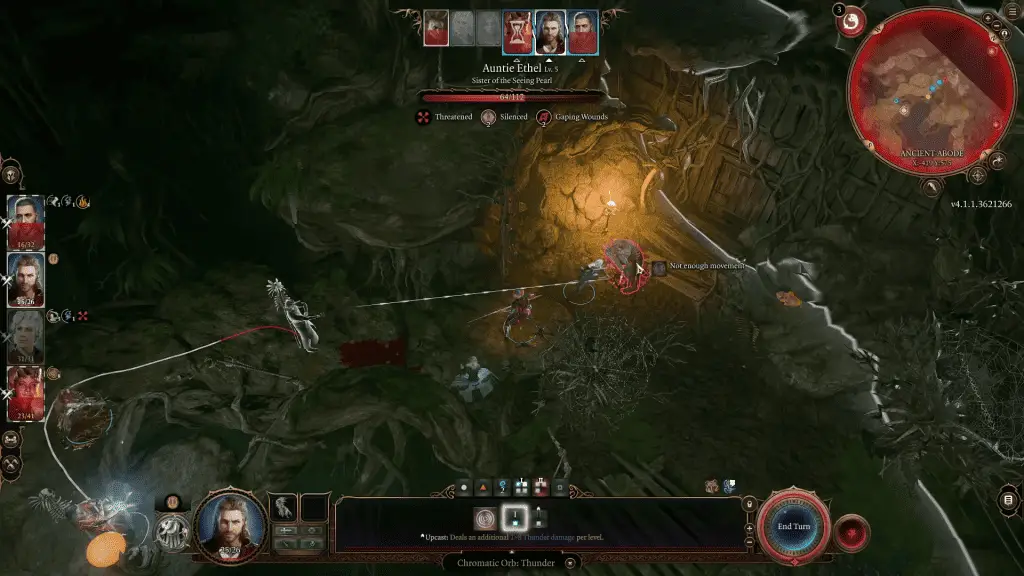
Encounter with the Hag: The main event at the Riverside Tea House is the confrontation with the swamp hag. This encounter is challenging and requires careful planning. The hag is an opponent with various tricks and abilities.

Combat Strategy: In the battle against the hag, consider using the environment to your advantage. Positioning and the use of AoE (Area of Effect) spells or abilities can be crucial. Defeating the hag not only provides significant rewards but also impacts the story.
Goblin Camp and Underdark: Finally, head to the Goblin Camp. The Goblin Camp is a major area in Act 1, filled with potential allies and enemies.
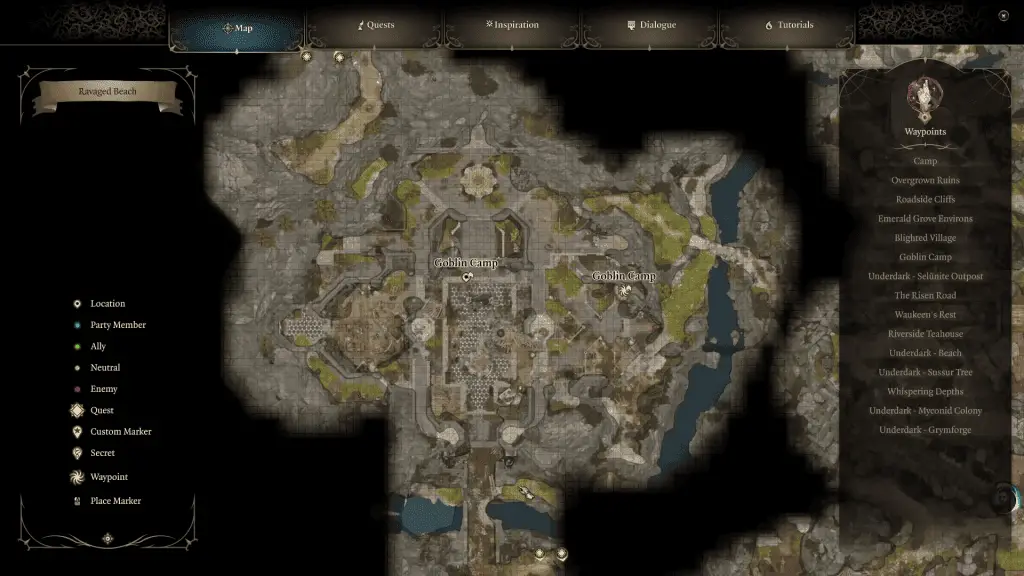
Goblin Camp: Your approach to this area can significantly alter your experience. You can choose to fight the goblins or attempt a more diplomatic approach. If you choose to fight, prepare for a tough battle against the goblin leaders.
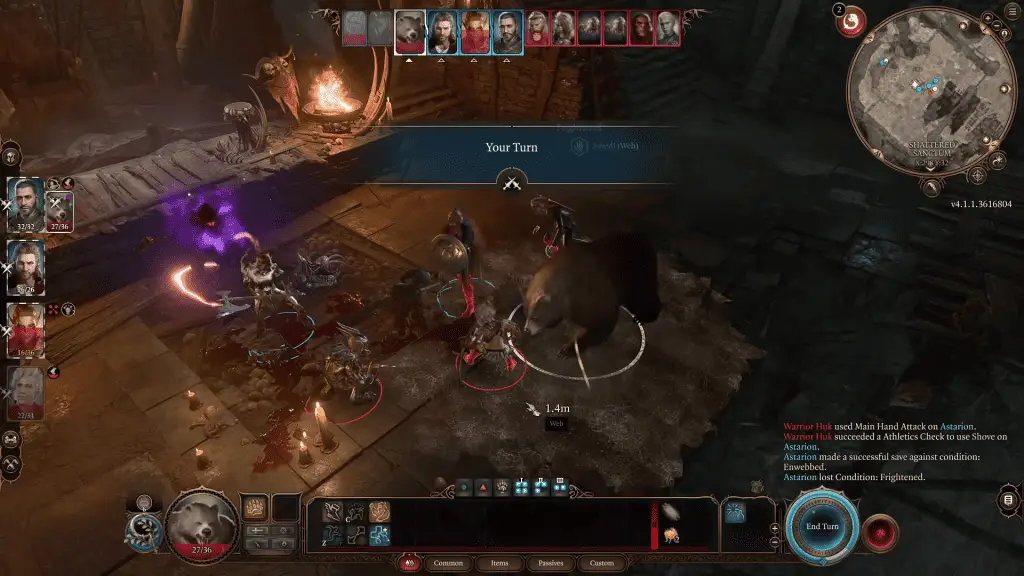
Rescuing Halsin: One of the key objectives in the Goblin Camp is to rescue Halsin, the Druid leader. This mission is central to the Act 1 storyline. Halsin can join your party as a temporary fifth member, providing additional support.

Accessing the Underdark: The safest route to the Underdark is through the Goblin Camp. You need to navigate to the back room in the priestess's private chambers. This area leads to a puzzle room, which is the gateway to the Underdark.
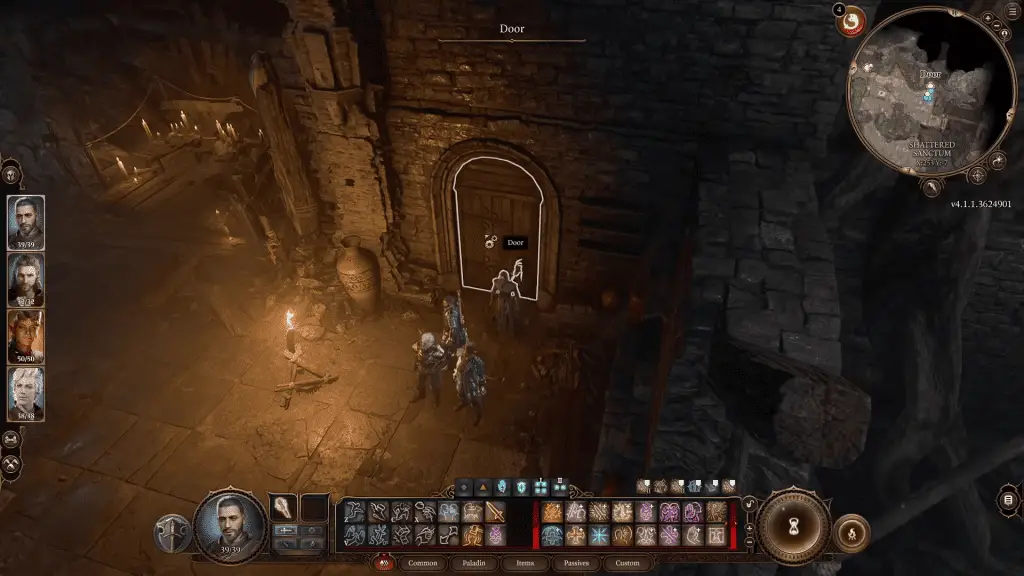
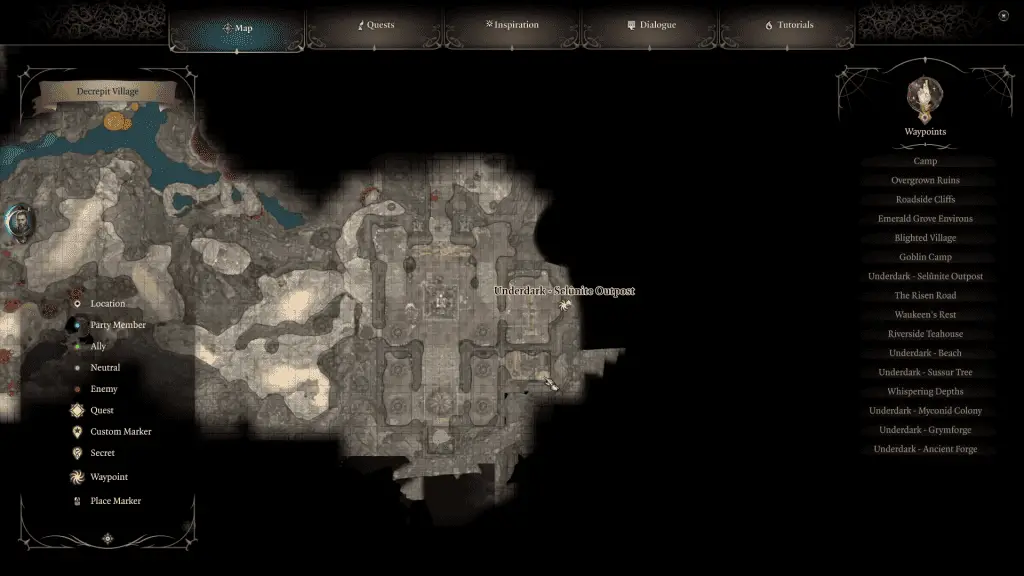
Starting Point in the Underdark: Upon entering the Underdark, you'll find yourself in a specific location marked by a waypoint. This waypoint serves as a reference point for navigating the Underdark. Leave the initial outpost to the west. It's recommended to head straight down towards the beach. This path is considered safer and more direct.
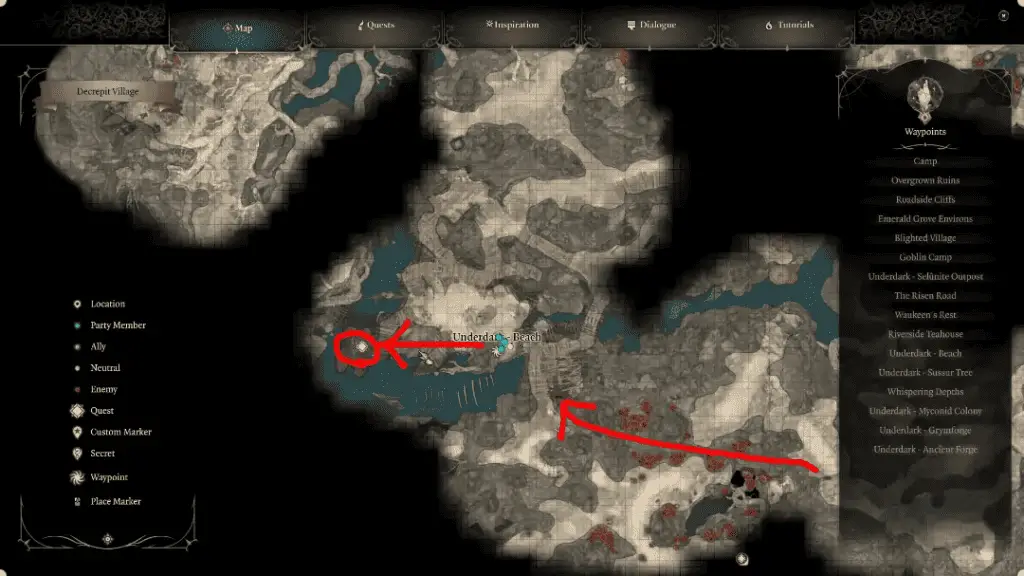
Beach Waypoint: Once you reach the beach in the Underdark, you'll find another important waypoint. This location is key for accessing the Grim Forge. To get to the Grim Forge, you need to use a boat found at the beach waypoint. The guide mentions the possibility of either stealing the boat or cooperating with the people there.
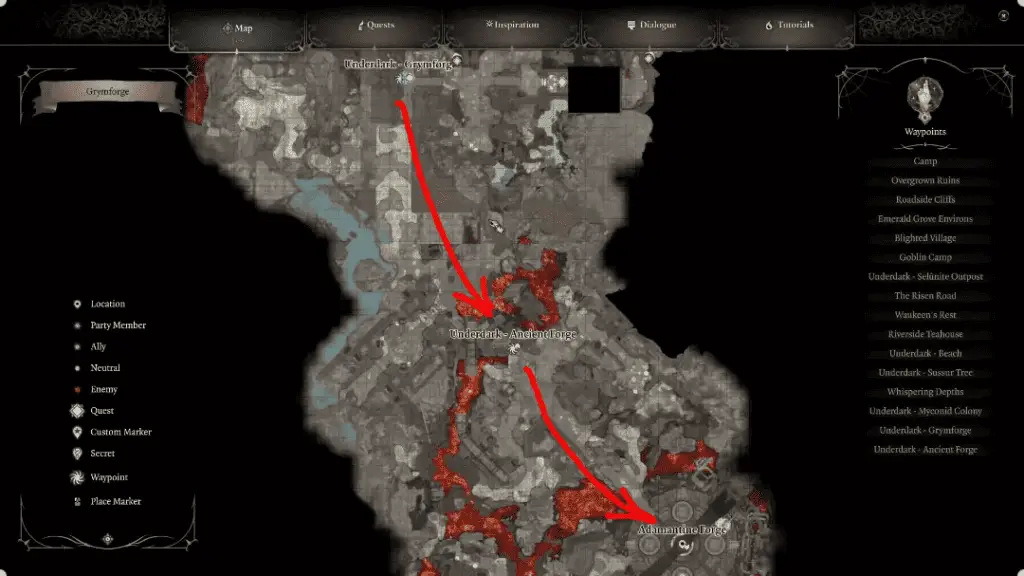
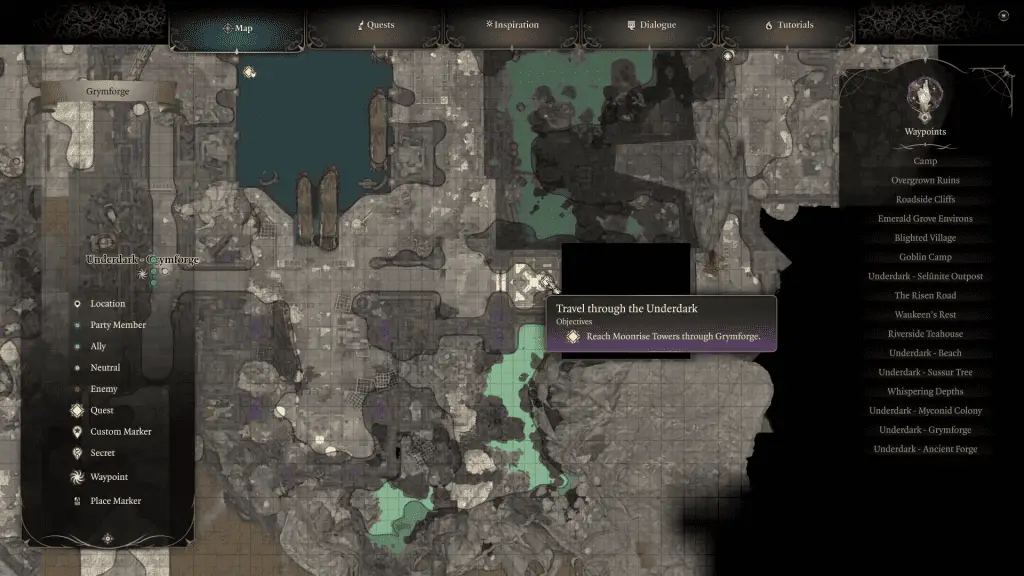
Arrival at Grim Forge: Upon arriving at the Grim Forge via boat, you'll find another waypoint on the west side. Following the main events south from here leads to yet another waypoint at Ancient Forge, leading to more events down at Adamantine Forge.
Related: Baldur’s Gate: Mithril Ore Exact Locations
Completing the Forge: After completing the events at the Grim Forge, you should be prepared to take the elevator to the Moonrise Towers. This transition marks the end of Act 1 and leads into Act 2. By this time, you should easily reach level 5-6, covering all the main aspects of Act 1 efficiently.
Learn More: All 4 Underdark Entrance Locations